How To Make Wax Melts With Beeswax (An Easy DIY)
Love the warm smell of beeswax melting or the uplifting feeling it brings to a room? Want something easier and safer than a candle? This quick DIY is a great alternative to burning beeswax candles. Learn how to make wax melts with beeswax with easy to follow step.

This post contains affiliate links, which means I may earn a small commission if you make a purchase through my link, but at no additional cost to you. You can read my full disclosure policy here.
Burning beeswax melts is a healthier alternative than burning the commercial wax melts from a store. Paraffin wax is loaded with toxic chemicals that is not healthy to breathe in.
Whipping up a quick batch of these is also a great gift idea for any time of the year. These homemade wax melts are great as is but adding natural ingredients to the mixture for color or smell is an option as well.
You will be shown how I make wax melts for my family and how easy and useful these homemade wax melts are for anyone.
This post will show you how to make wax melts with beeswax with the optional use of coconut oil and natural essentia oils.
What you will need
- Half Pound Beeswax - (Beeswax Pellets Preferred)
- Glass Measuring Cup
- Small Pot
- Heat-proof Glass Bowl
- Small Silicone Molds or Ice Cube Trays
- Wax Warmers
- Coconut Oil (Absolutely optional)
- Essential Oils (Optional)
Steps on How to make beeswax melts
1. Pour Beeswax (and coconut oil if using) into glass bowl.

White beeswax or yellow beeswax can be used for this natural beeswax DIY. Use white beeswax if planning to add a natural color.
These are great beeswax pellets to use that make the DIY quick and simple.
2. place glass bowl over small pan of water and heat on low until beeswax is all melted.
To create a makeshift double boiler, place a small glass bowl over a small saucepan of water (approximately 2 inches of water). The glass pan should not be touching the water.
Use a wooden spoon that is designated for beeswax DIYs or wooden skewers to stir the mixture.
3. Allow mixture to cool slightly and add in essential oils (if using).
Take the mixture off of the heat source. You will add in 30-60 drops of essential oils after the mixture cools slightly, depending on how scented you want it. Note- it will not usually be an extremely strong scent.
A great organic essential oil brand to use can be found here. Alternatively, add a few drops of essential oils to melts as they begin to melt in warmer. This way you can get your desired scent each time.
4. Gently pour Mixture into molds.

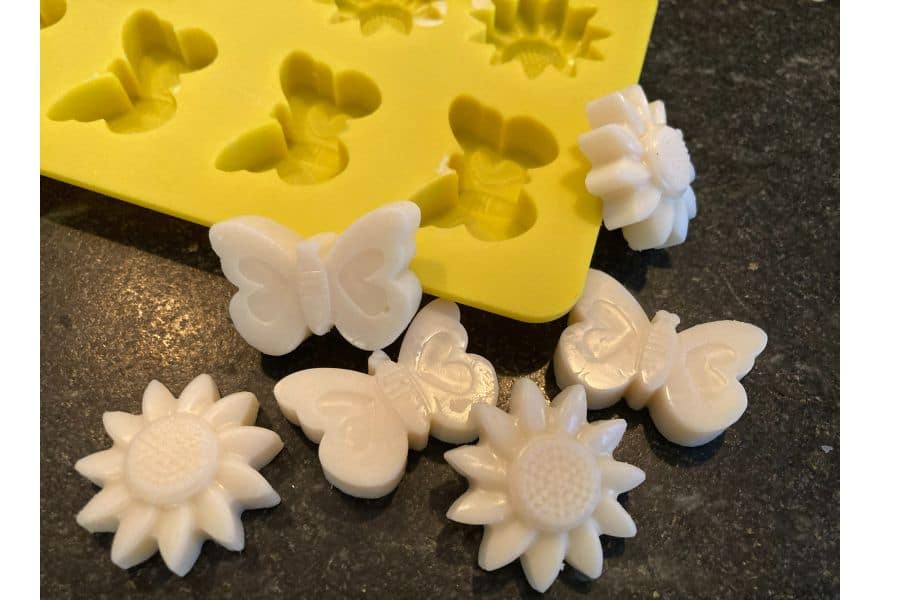
You will pour wax mixture into silicone molds of your choice. Shapes can include wax cubes, clamshell molds, hearts, and so on.
Picking the shape is part of the fun of creating your own DIY wax melts.
Great Mold Options From Etsy:
4. Let mixture set until firm.

The candle melts will need to reach room temperature and should become firm. It is best to allow the wax melts to set for a few day prior to using in your wax melt warmer. This will allow for the scent to set into the wax.
4. Use your beeswax melts in Candle warmers or wax warmer
Use the natural wax melts to bring subtle scents to the atmosphere through the use of your favorite essential oil. Alternatively, enjoy the natural beeswax scent on its own.
Frequently Asked Questions:
How Candle Wax Melts are better than candles
Beeswax melts are an easy DIY compared to candle DIY. Also, candle wax melts are a safer alternative than burning a candle.
You do not need to worry about an open flame that needs to be away from surfaces or put out when you are not around. Additionally, a variety of home smells can be created because different natural essential oils may be added to to the wax melts with each use.
How long do melts with beeswax last?
The wax melts burn time will be dependent on different factors such as on the oil used and the size of wax melt created, temperature of the room, amount of essential oils in the wax, and so on. Beeswax melts at a hotter temperature, so mixing in coconut oil allows melt time to increase.
what is the best oil to mix with beeswax?
The oil that I mix with beeswax is coconut oil only. Many people like soy, however, soy is heavily polluted. It is more difficult to find soy sources that are not polluted with chemicals, therefore, burning organic coconut oil is a safer choice.
Great options for an electric wax burner
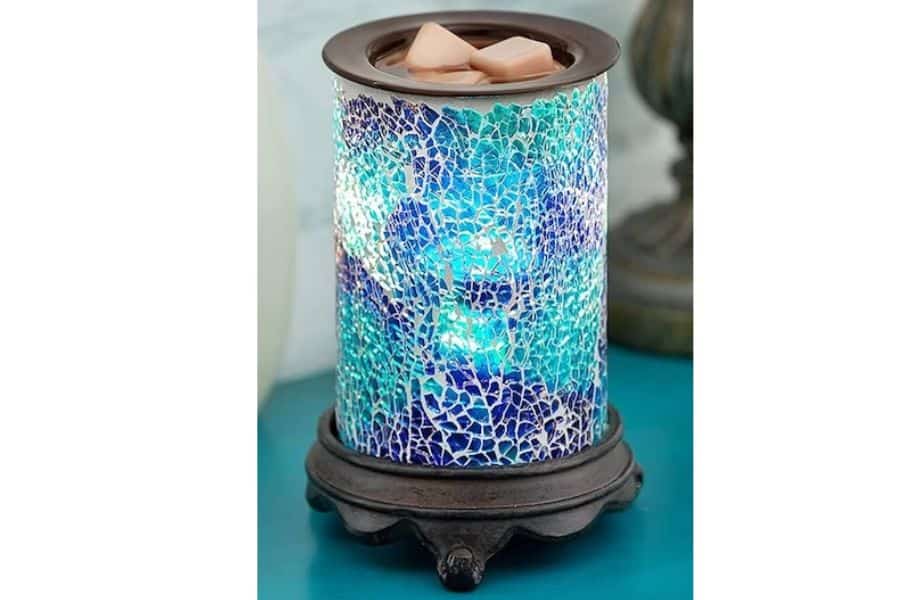
This ceramic beeswax melts warmer colored in blue crystals makes a lovely option if looking for a subtle ambiance glow. Other electric wax burner designs are available depending on your personal preference.
Another great choice is this glass warmer that omits a lovely glow when turned on. Its decorative design is easily enjoyed as a decorative piece on its own when not lit up. (I recommend the warmer only, not the soy wax melts that are free with purchase.)
Here is a beautiful warmer for the winter season. Bring warmth and comfort with this scene that is not only pleasant to look at, but can be changed to 7 different color settings. This one is a beauty for sure.
Another option making the list is this clear crystal-like plug-in warmer. The small plug-in feature makes it convenient to use in many places without giving a gaudy look. It also comes in rose gold lined in gold.
Lastly, choose this ceramic wax warmer which melts the wax tarts through use of a hot plate. There is no illumination which portrays more of a calming vibe through simple design.


Please.. I’m not a robot!
How much coconut oil to add to the half pound of bee’s wax.
Please..
Thank you
Rebecca
Hi Rebecca,
I would do approximately 1/4 cup of coconut oil. Thanks for asking, and I will adjust the recipe.